Raycast?
If you’re part of the Venn intersection between ‘nerds’ and ‘users that have been using Mac OS professionally for the past decade or so’, you probably know about software like Alfred.
If not, here’s a TL:DR generated by Claude:
“Alfred is a powerful productivity application launcher for macOS that significantly enhances the functionality of Apple’s built-in Spotlight search.” - Claude
Raycast fits in that same description, and that is what I want to talk about.
Essentially, it inherits all of the native functionality that Spotlight provides by default (search, calculator, app launcher, etc) and expands on it. Massively.
Now, I never used Alfred but I do know several people I look up to who swear by it. I do however use Raycast, and have been doing so for almost a year now. I became a big Raycast champion within my workplace and I don’t think I could ever go back to using a Mac without it.
I think I also managed to convert some die-hard Alfred enjoyers to Raycast lovers.
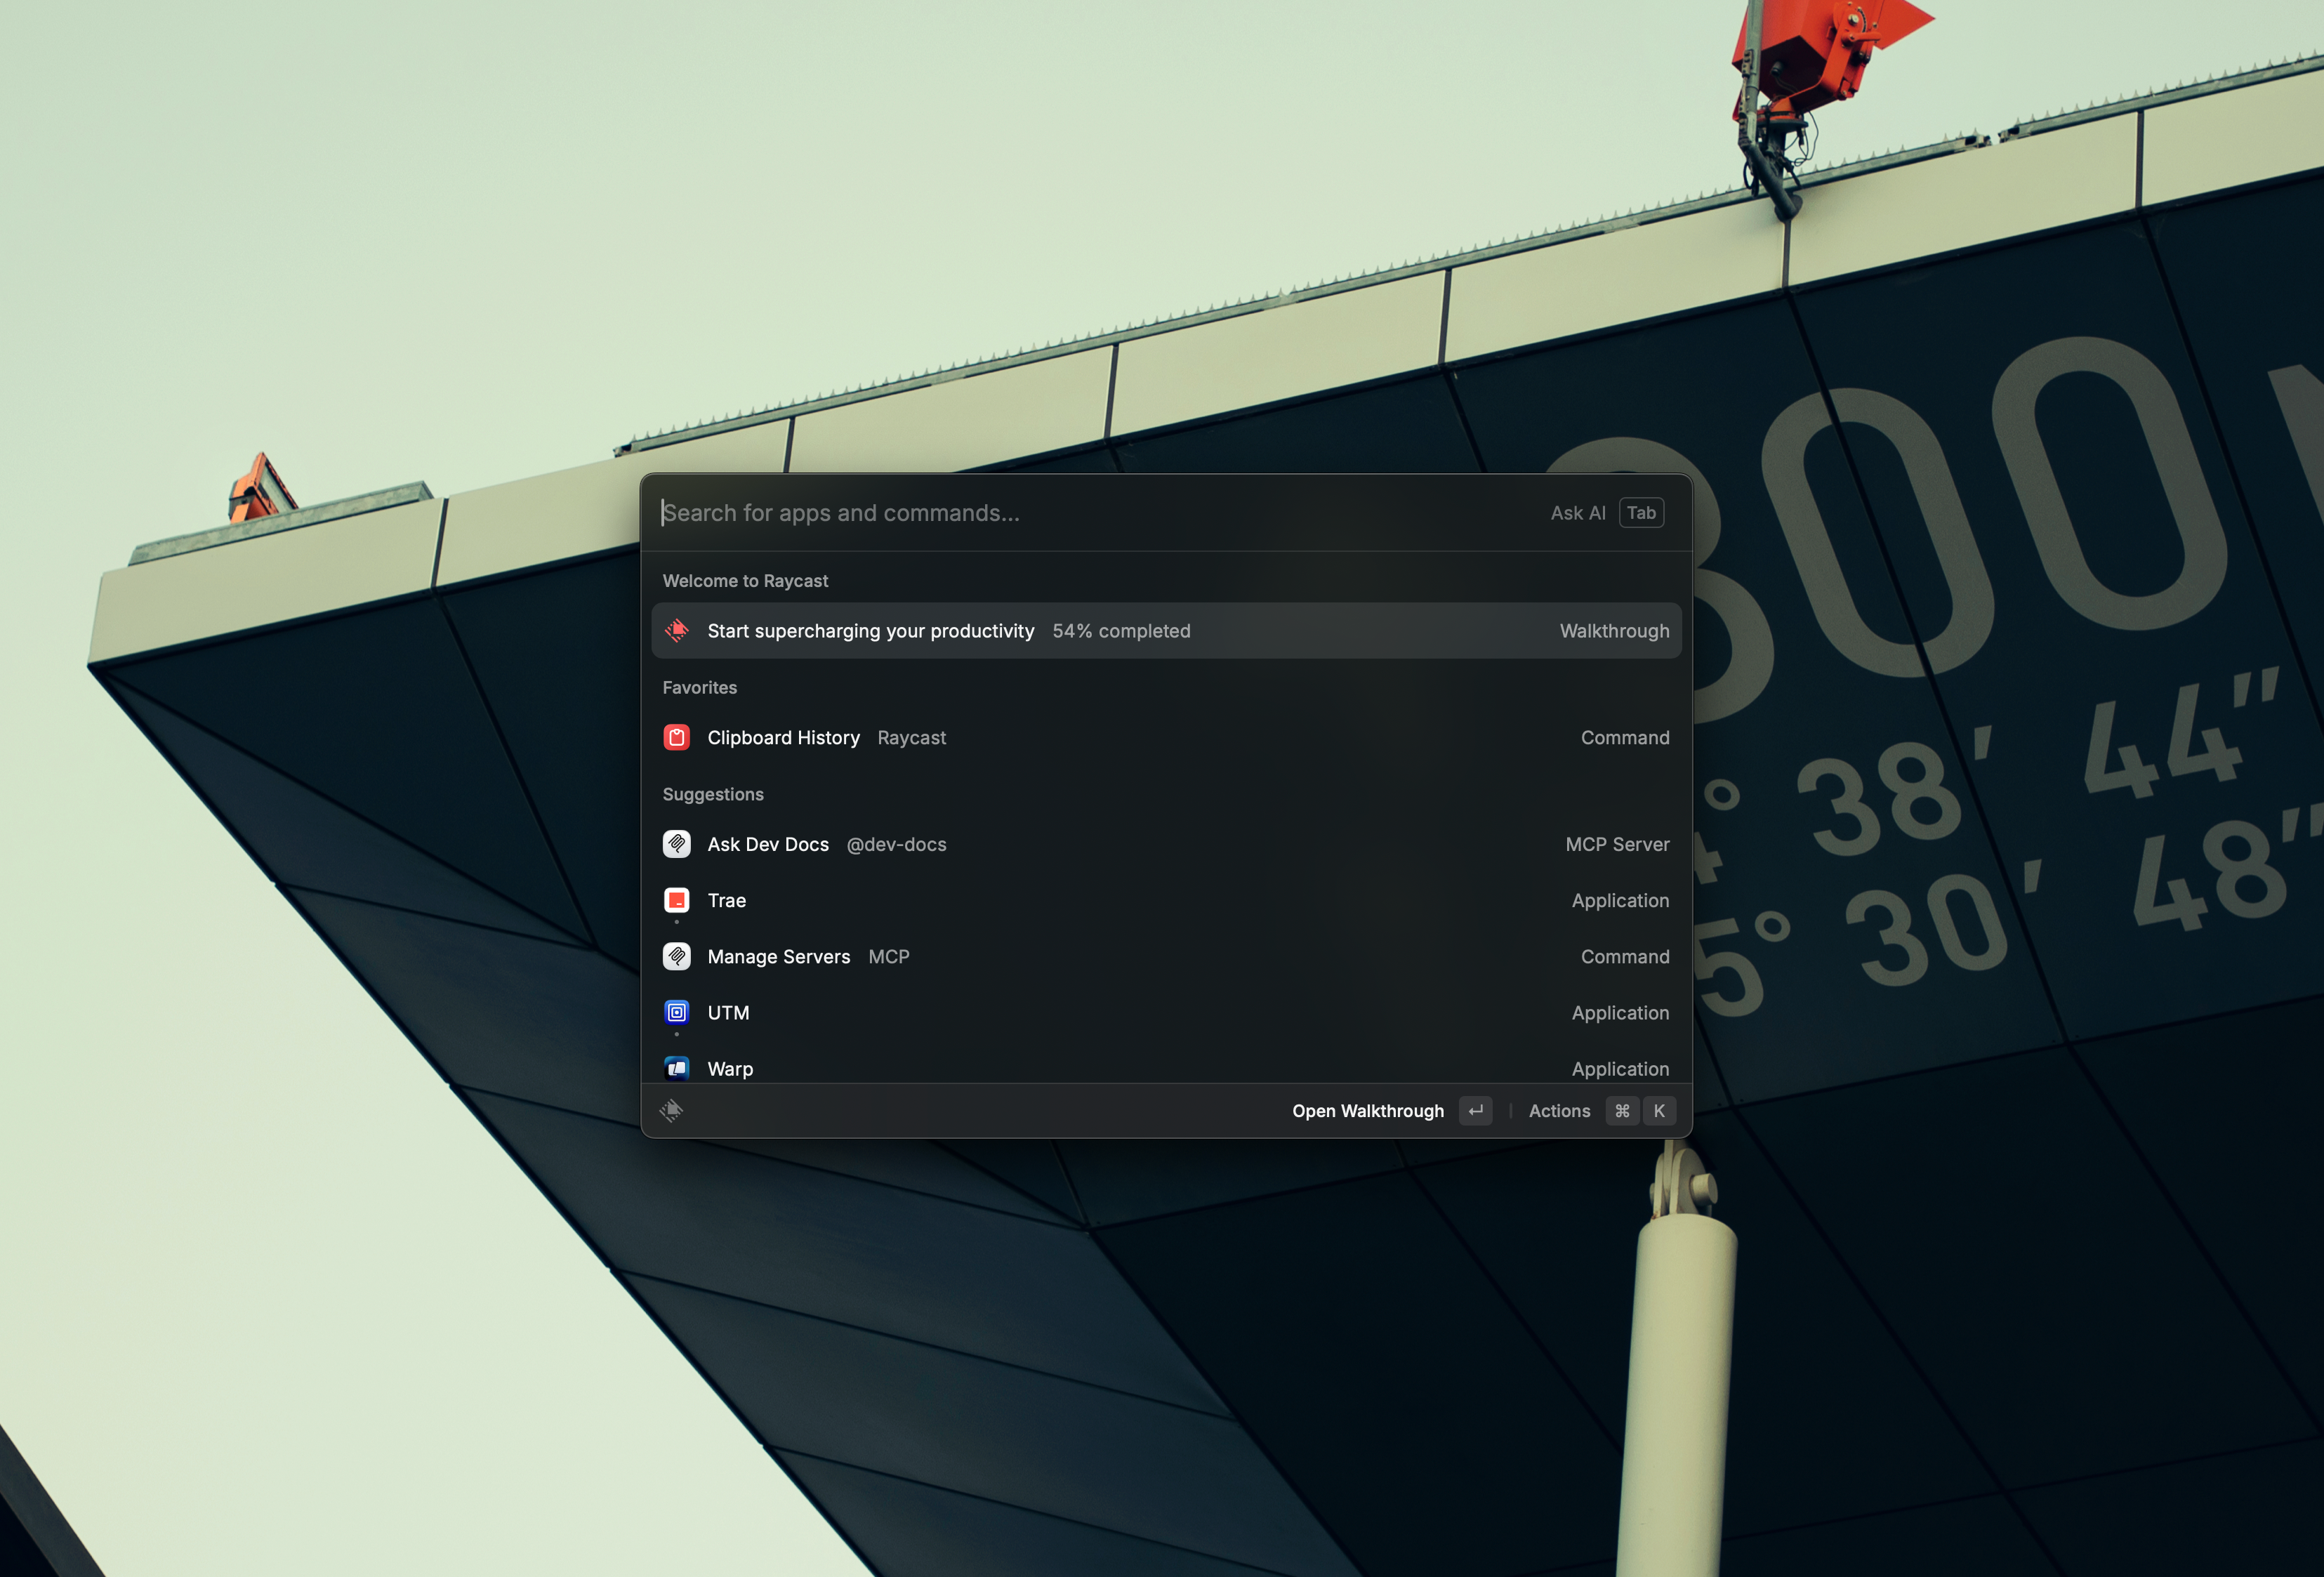
⚠️ This post will assume you know what Raycast is. I will merely dive into some of the ways I use it every day.
Shortly after getting into ways to improve the efficiency of how I use my mouse (see How I use my MX Master 3S on Mac!), I looked into ways to further saciate my quest for productivity on a Mac.
I stumbled upon Raycast.
Ooh, it has a free tier??
I installed Raycast.
… and I will likely start paying for the premium version.
Table of Contents
Open Table of Contents
How I use Raycast
One of the many cool things about Raycast is that it comes pre-packed with a load of features you used to need a separate piece of software for.
When you first install Raycast, it will automatically assign the Ctrl + Space as the default key shortcut to open it. Ignore this and immediately set it to use ⌘ + Space instead. You want to fully replace Spotlight. Trust me on this.
Clipboard History
You will think I’m crazy, and I am ashamed to admit it as well, but before Raycast I somehow survived without a clipboard manager.
I know, I am also in disbelief. Life is much better on the other side.
Raycast has a very powerful clipboard manager built-in. It properly lists and retains the format of the copied asset in memory. It’s also easy to navigate and preview the copied asset before refreshing our clipboard.

You can access the Clipboard Manager (and any other Raycast functionality) by simply opening Raycast (⌘ + Space) and searching for it.
But that’s not cool.
What if I told you that you can map keyboard shortcuts to every single Raycast action?
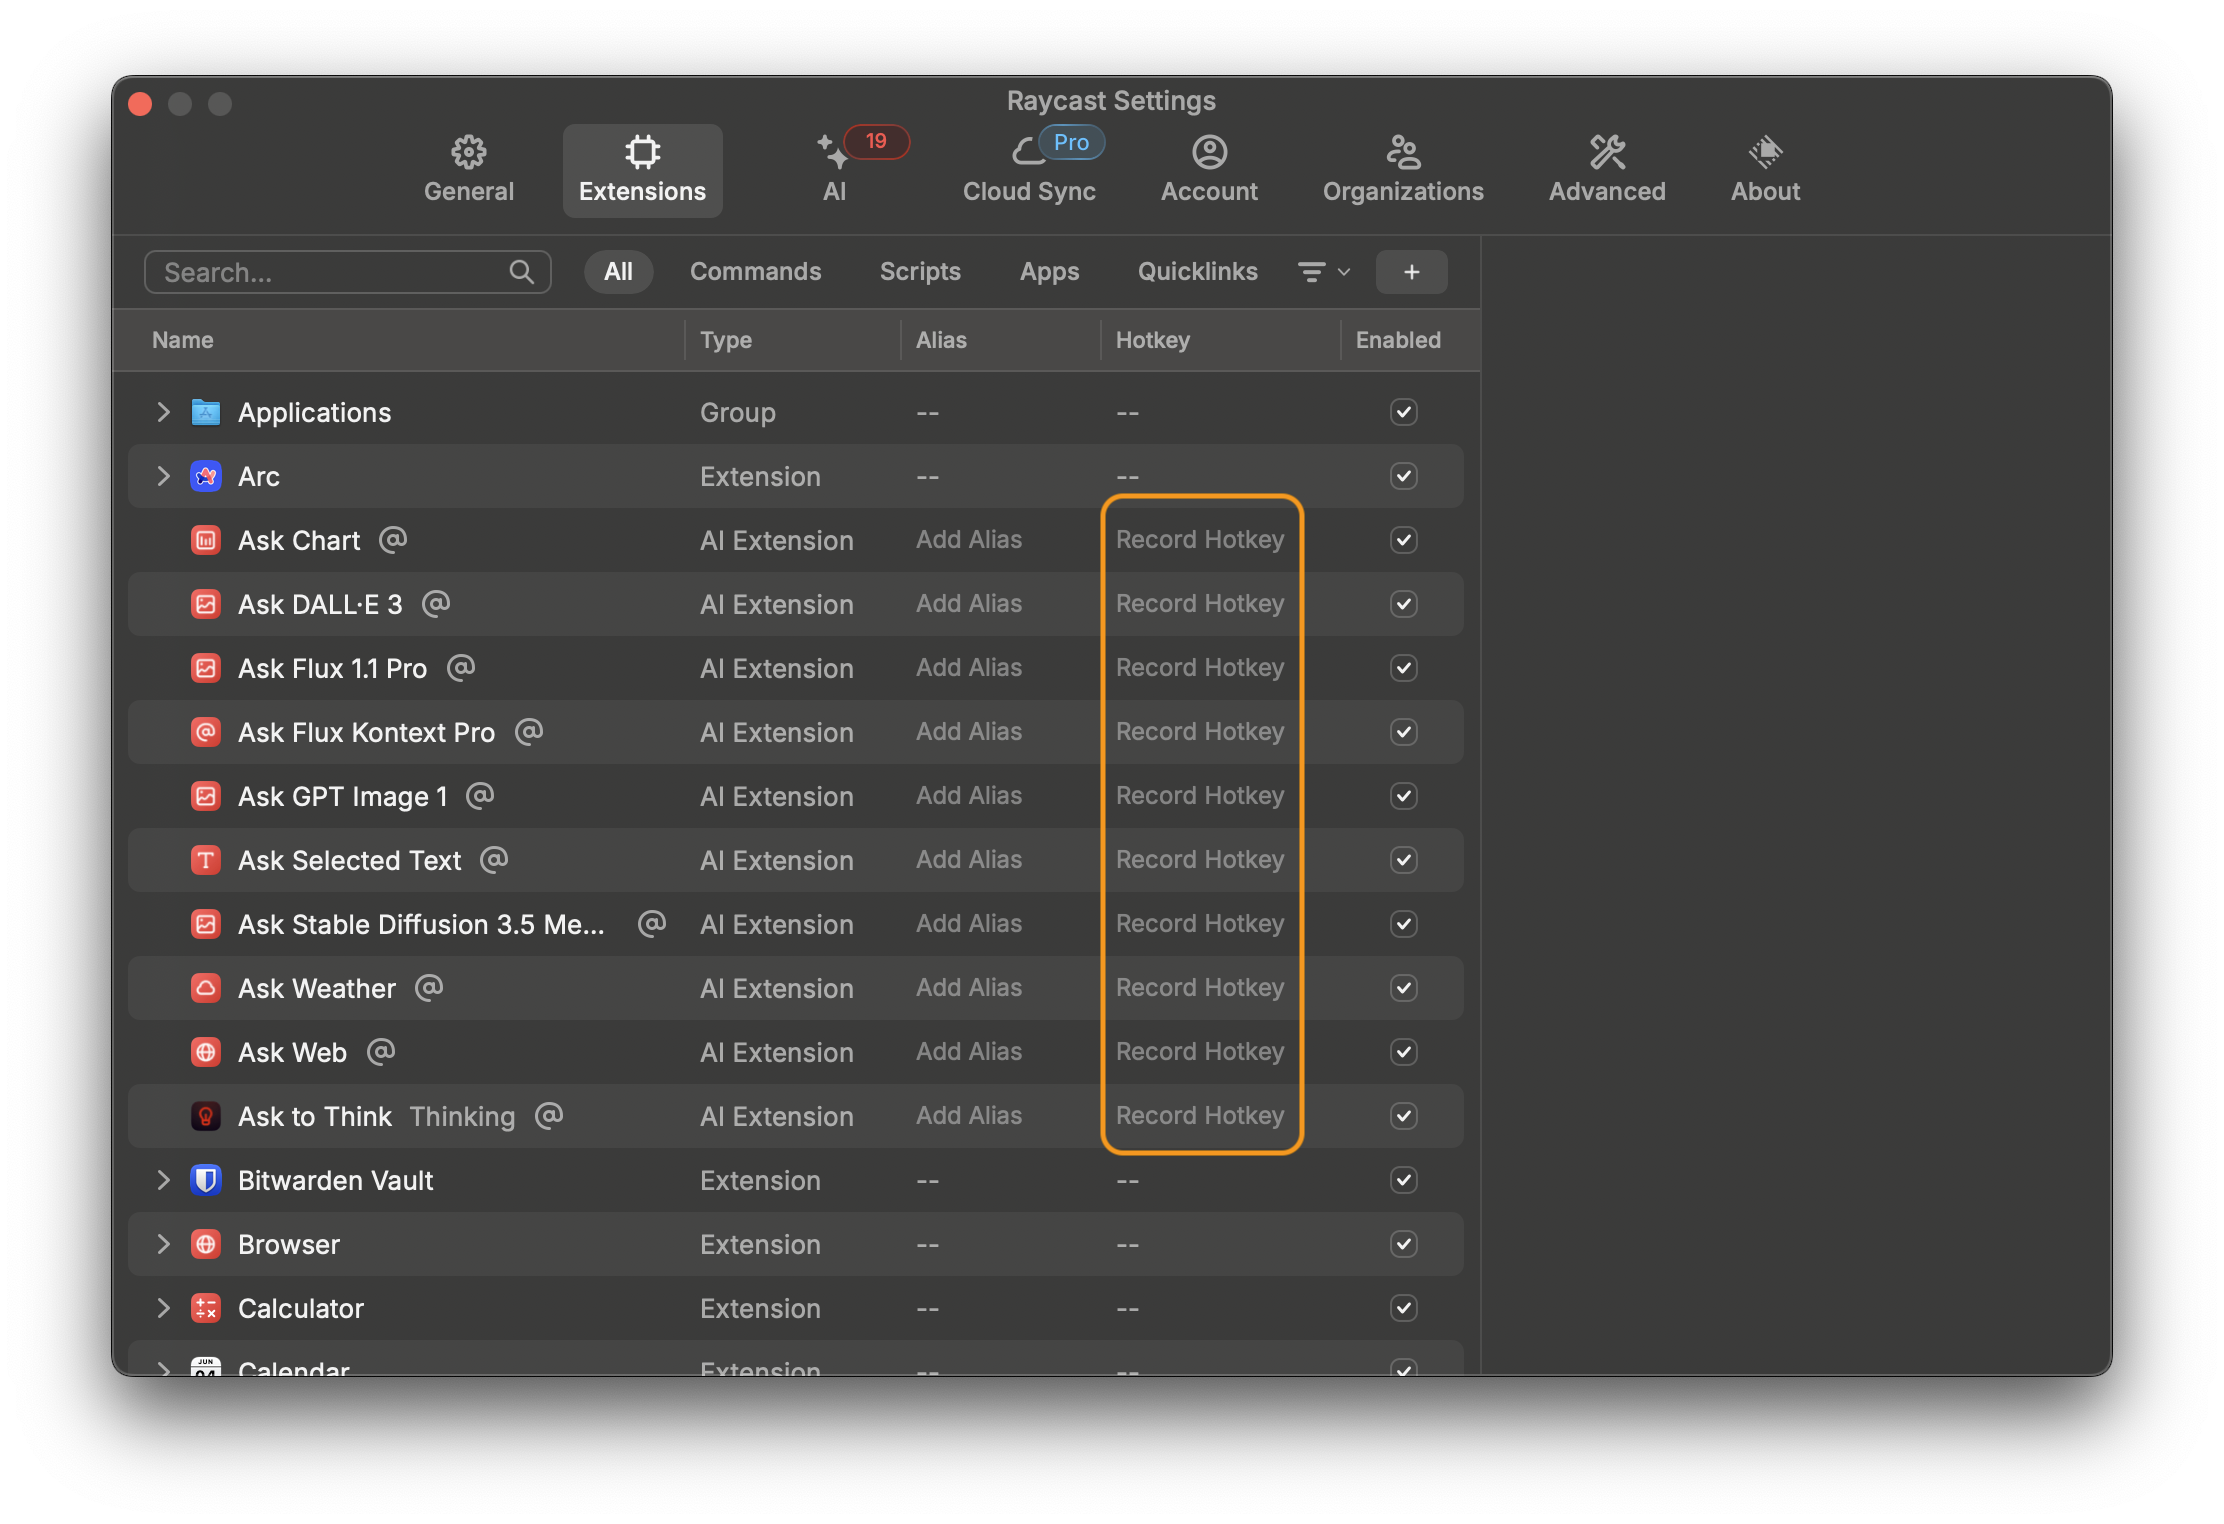
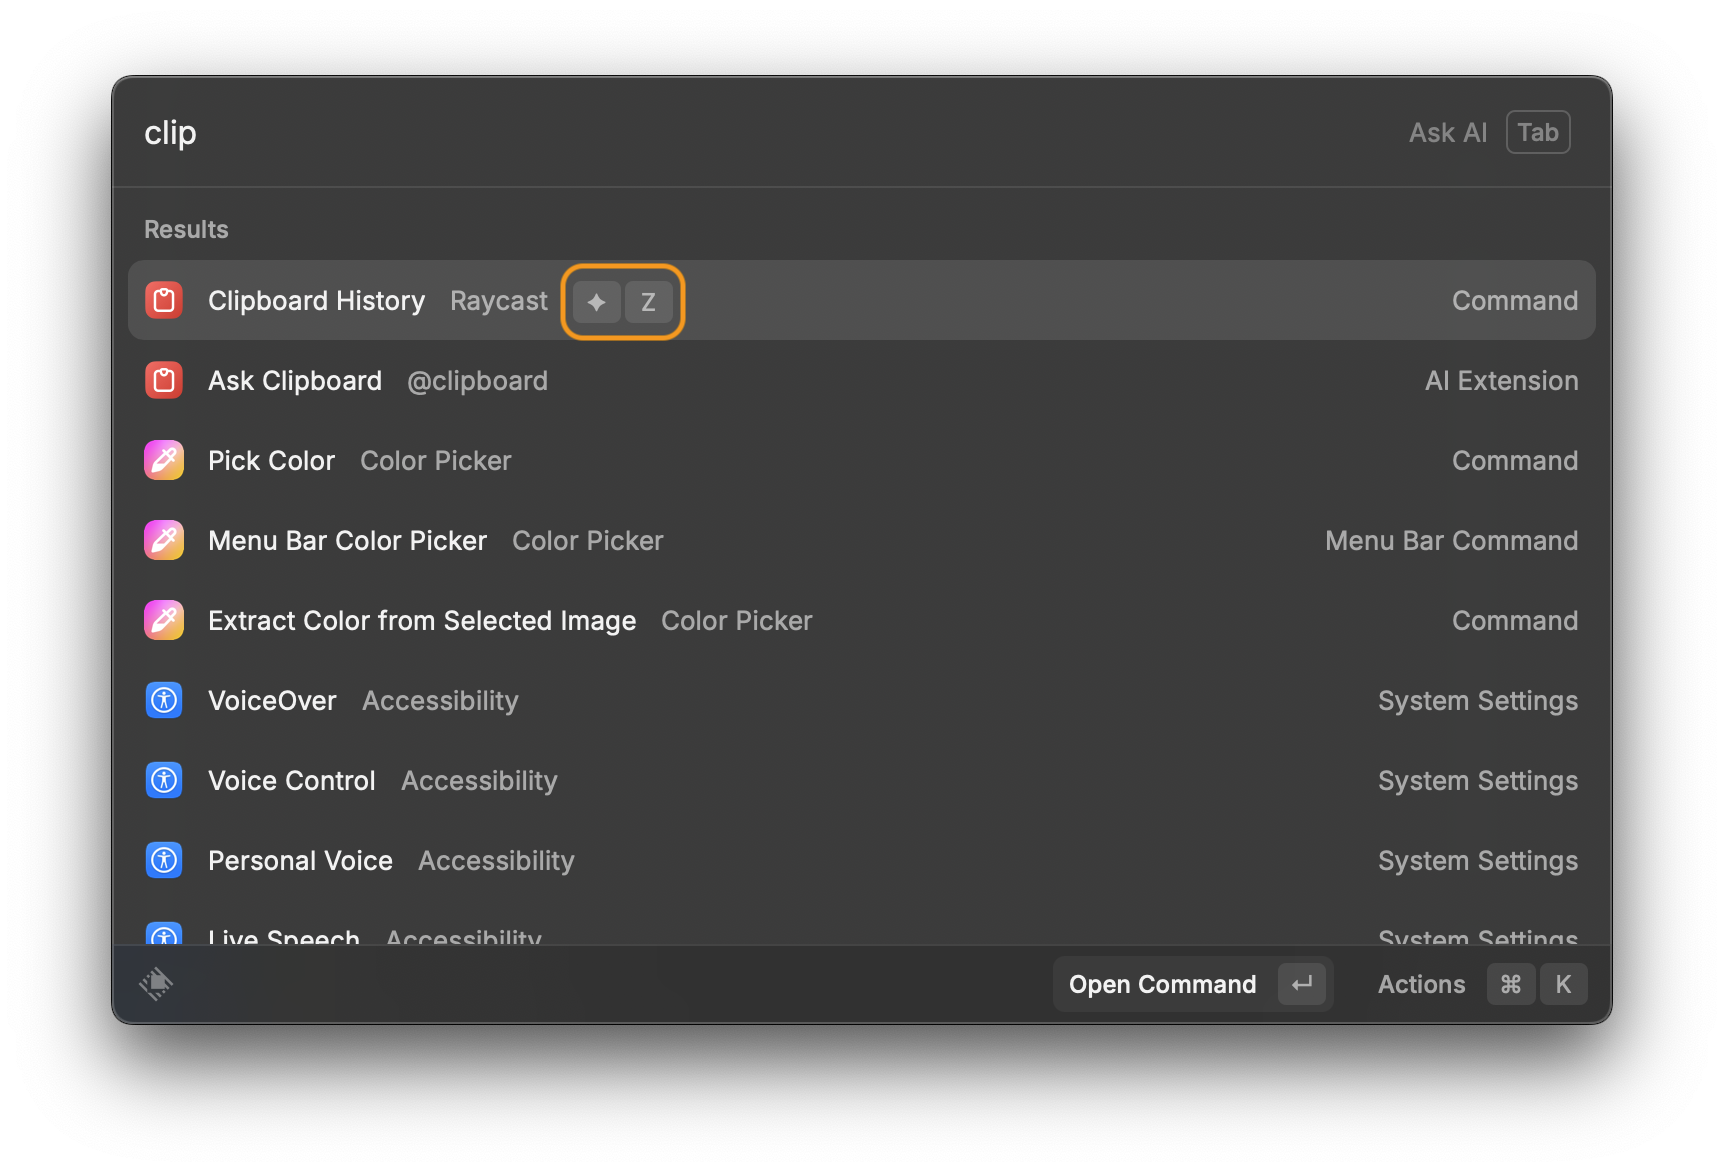
I set Clipboard History to be launched when I press Hyper Key + Z.
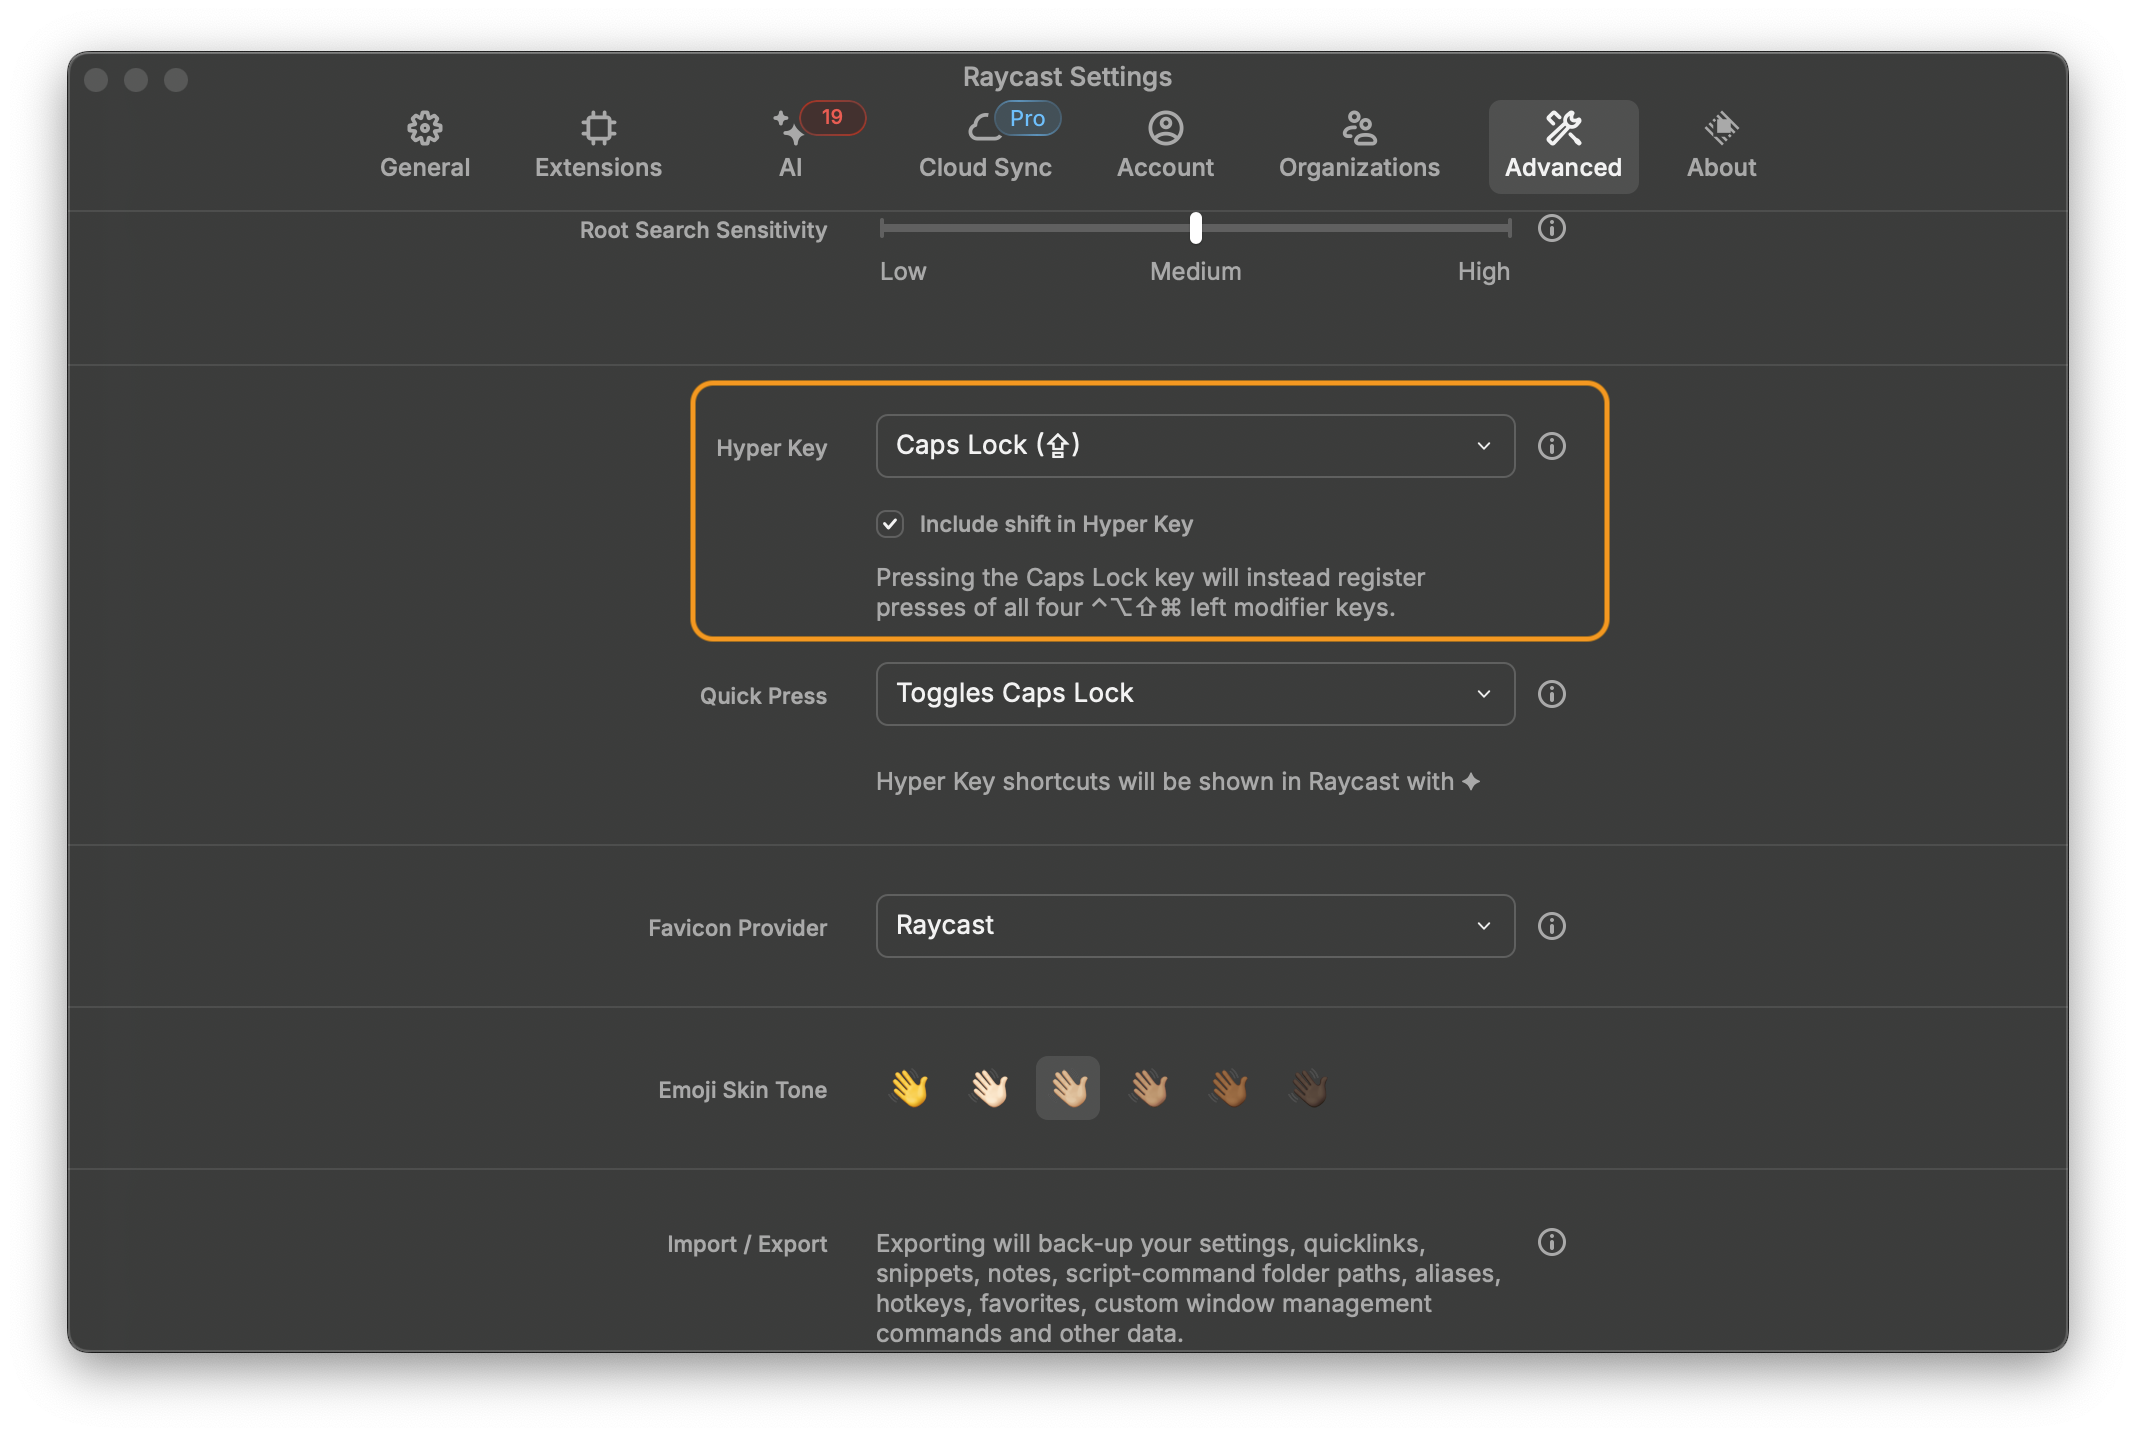
My Hyper Key (equivalent to ⌃⌥⌘⇧ pressed together) is set to Caps Lock.
Window Management
Remember the Venn diagram intersection I mentioned at the beginning of this post? If you do fit in it you probably use something like Tiles as an alternative to Mac OS’s awful window management.
Raycast comes with a window management feature built-in.
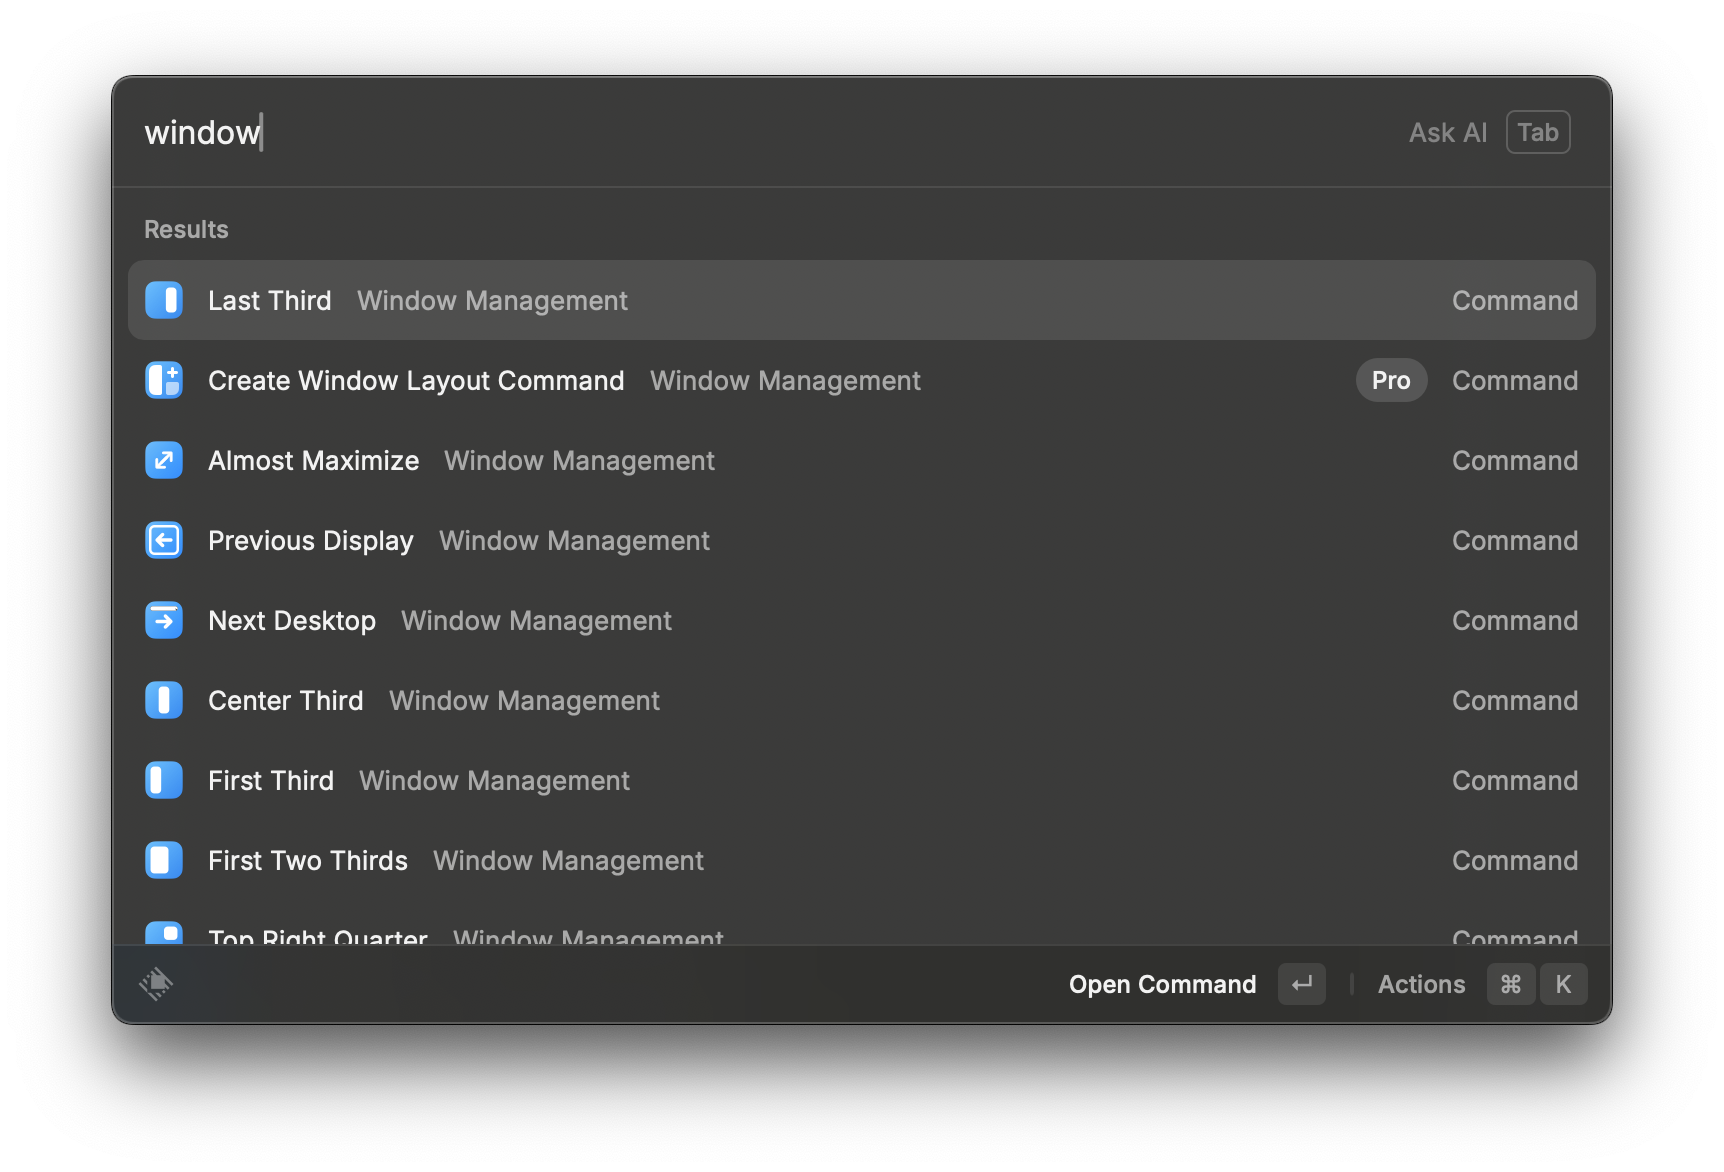
So you can open Raycast at any time, and select the option you want to enforce on the application you are currently on.
Or you can do the cool thing: set keyboard shortcuts.
I like to work with side by side windows frequently, so I set Hyper Key + ➡️ to set a Window to the right half of the screen and Hyper Key + ⬅️ to set a window to the left half. This is something you can do with Tiles, but it’s native to Raycast.
I have other shortcuts for things such as moving windows from one display to another, but that’s dependant on your monitor setup.
The really cool stuff
Snippets
Now we’re going to join the big leagues of efficiency-inducing nerdism.
Snippets (not to be confused with Cloudflare’s equally brilliant feature of the same name) allow you use keywords to generate a more complex character input.
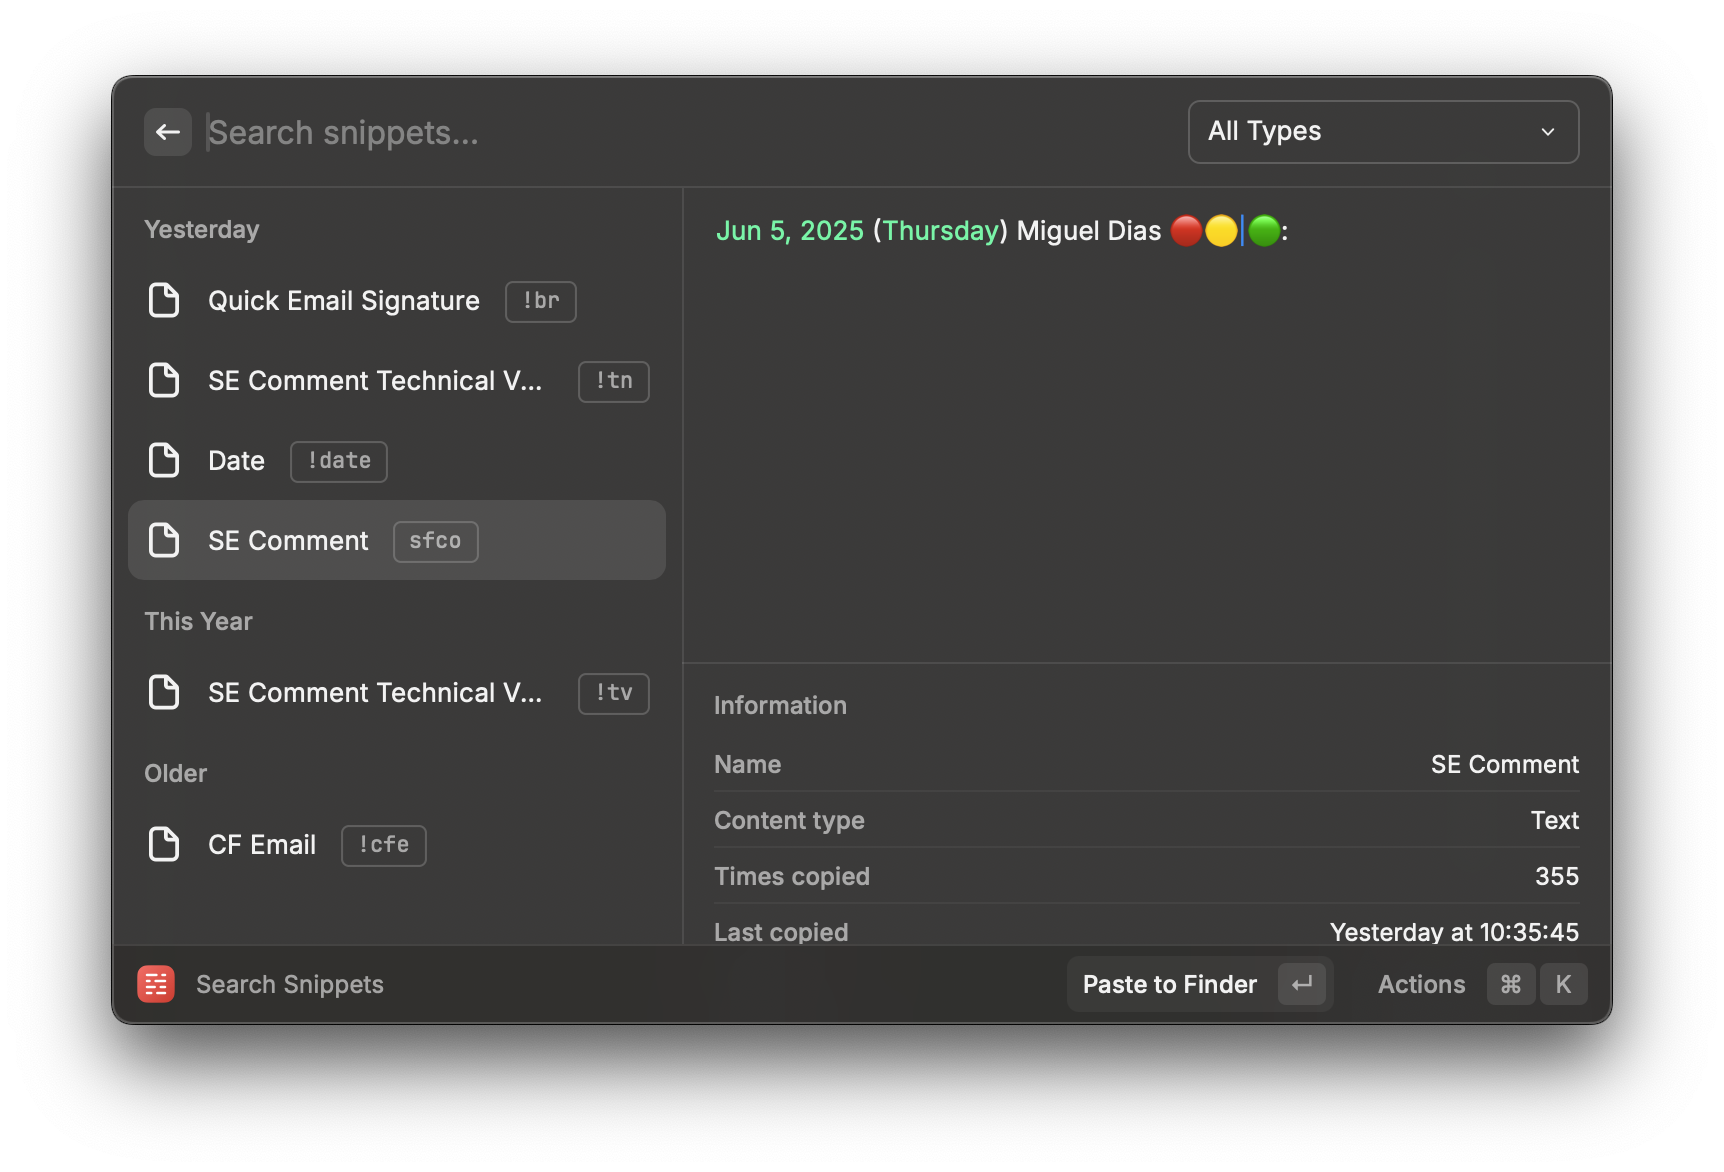
I use this feature every day, for even the most basic tasks.
For instance, I tend to need to write a cordial signature at the end of messages in platforms that sit outside of my email client, where I have a preset email signature. It gets annoying having to constantly write “Best regards, Miguel” every single time. My solution for this? A snippet.
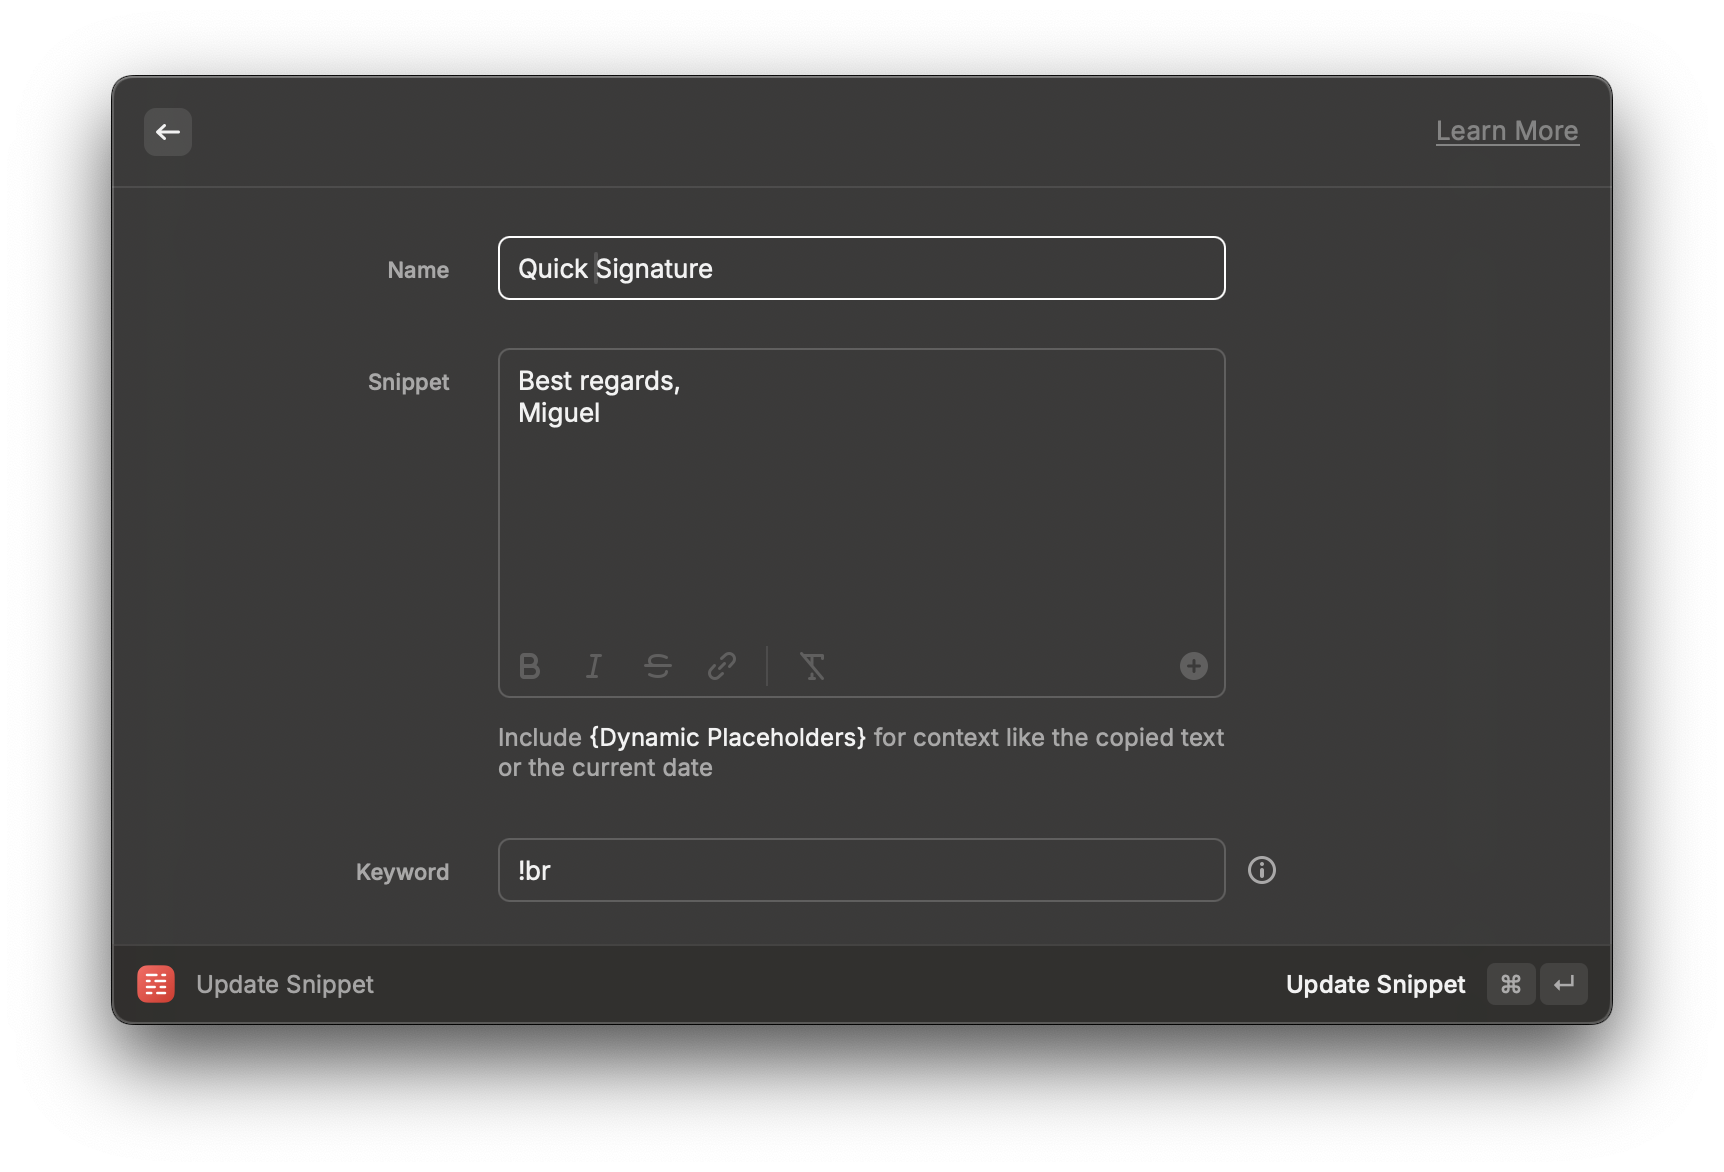
Now, whenever I need to sign a message I just enter the keyword !br, and Raycast instantly replaces it with the text “Best regards, <[new line]> Miguel”.
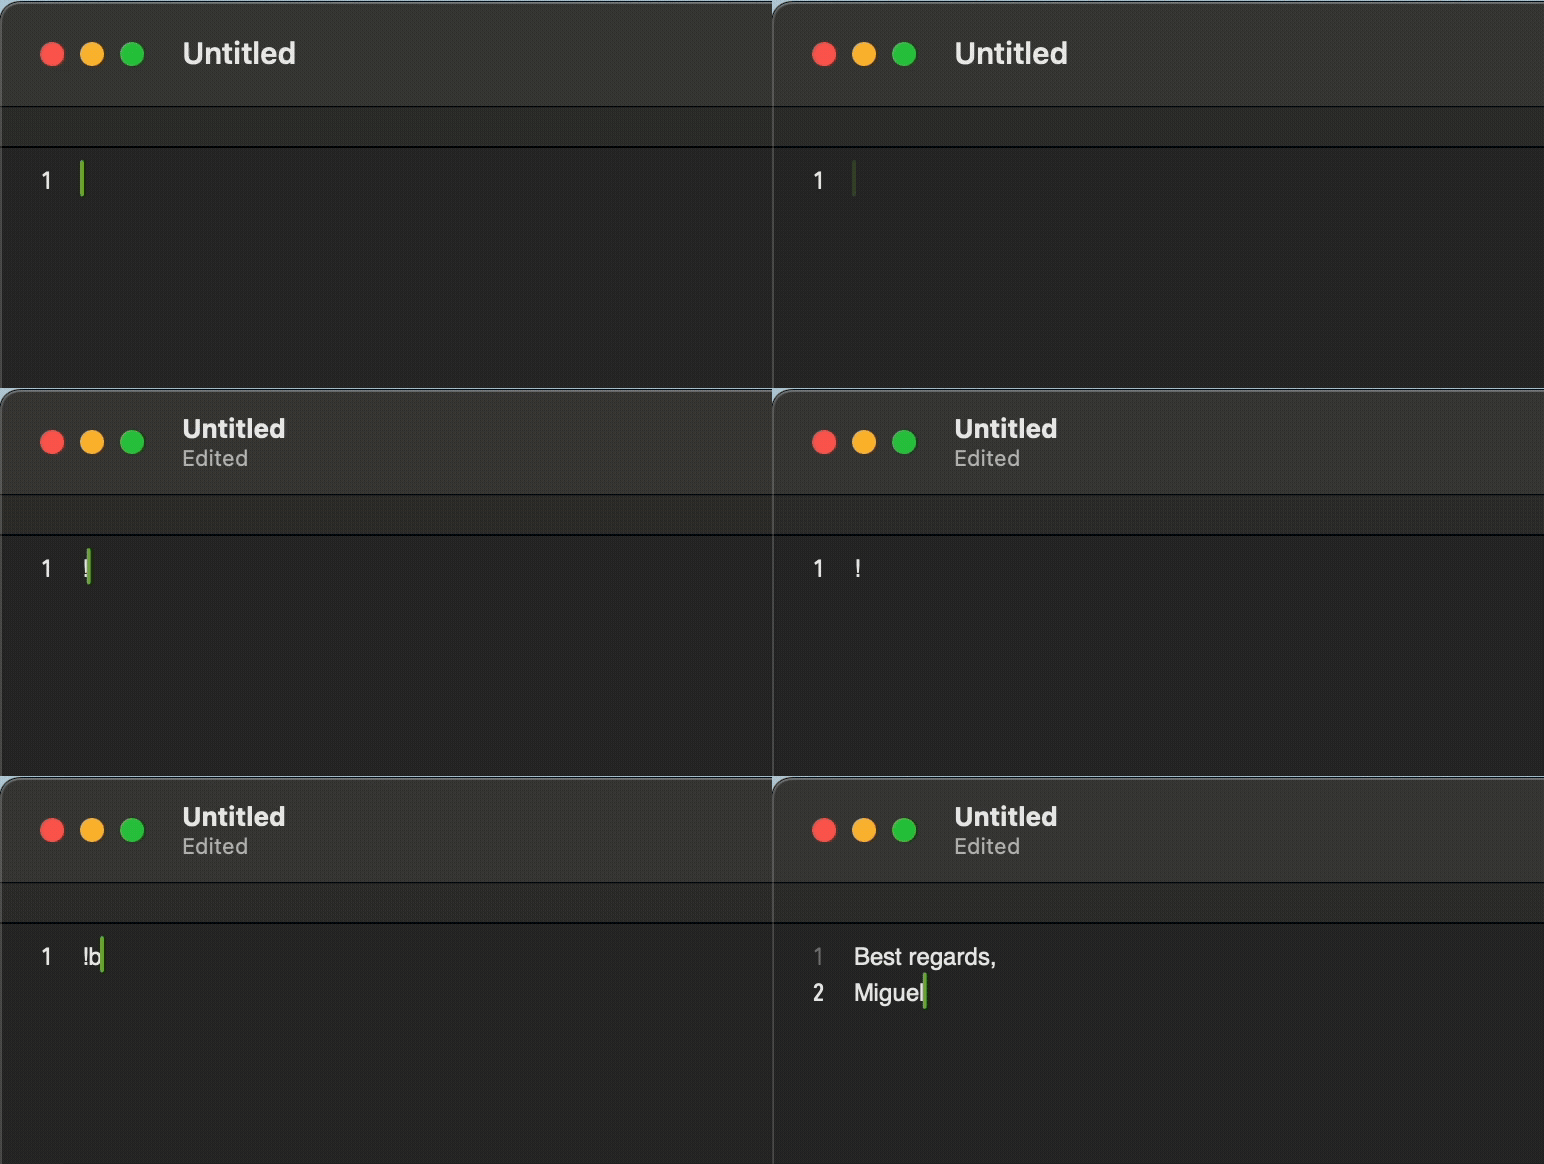
I have a similar one for my email as I often need to paste it somewhere.
However, Raycast allows you to use Dynamic Placeholders which allows you to create Snippets that return dynamic values.
Take a look at a Snippet I use when logging an update on my notes:
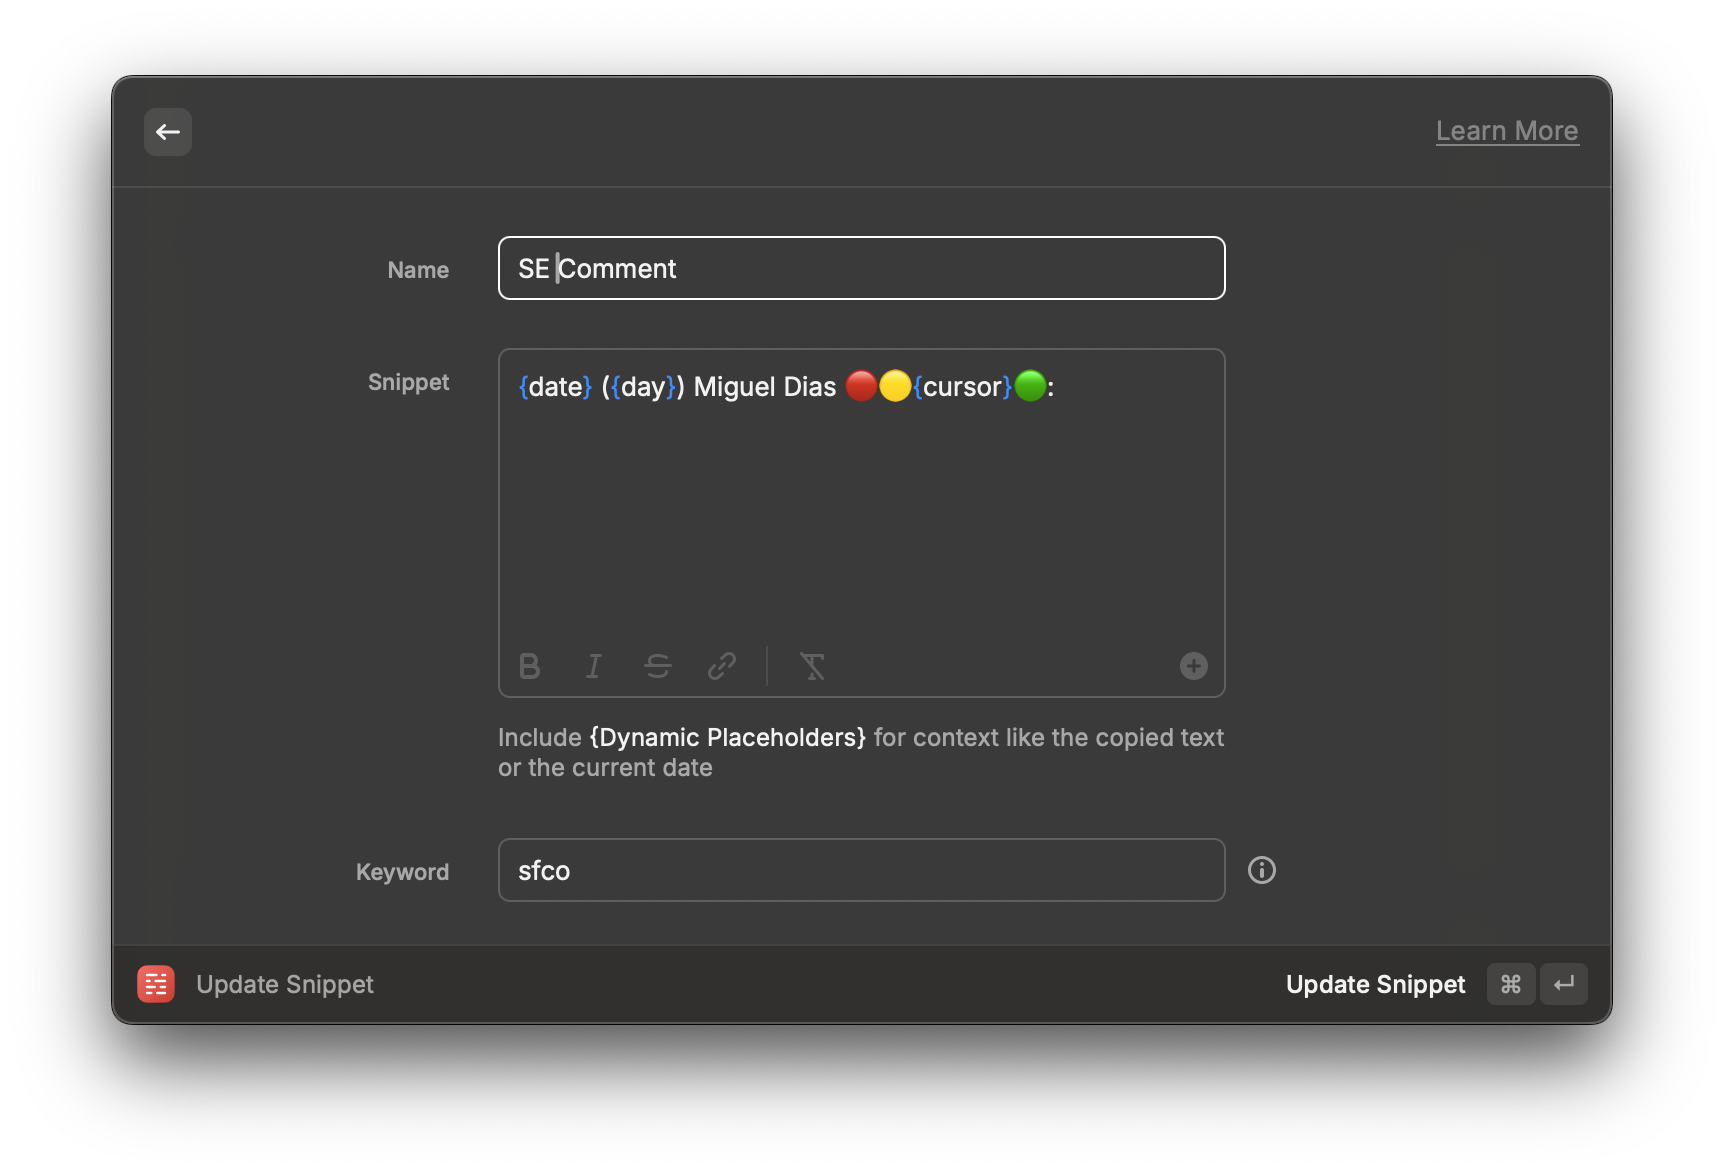
So, when I type the words ‘sfco’, the following is returned:
Jun 4, 2025 (Thursday) Miguel Dias 🔴🟡🟢:
It is an extremely useful tool. Built right into Raycast!
Smart Screen Capture
I take screenshots everyday. They are a convenient way to collect and even convey information. However, sometimes the only information I really want to capture is text. Say someone is sharing their screen and I need to take note of whatever text is being presented at me, I used to take a screenshot of this text and paste into a note-taking app. This works, but it isn’t ideal as I can’t search for the text on that image later on.
Thankfully, one of Raycast’s most important feature is that it supports Extensions.
Essentially, it allows Developers to create extra features for Raycast, and I use a ton of them. This alone would deserve it’s own post, or a book.
ScreenOCR is an extension I use very frequently.
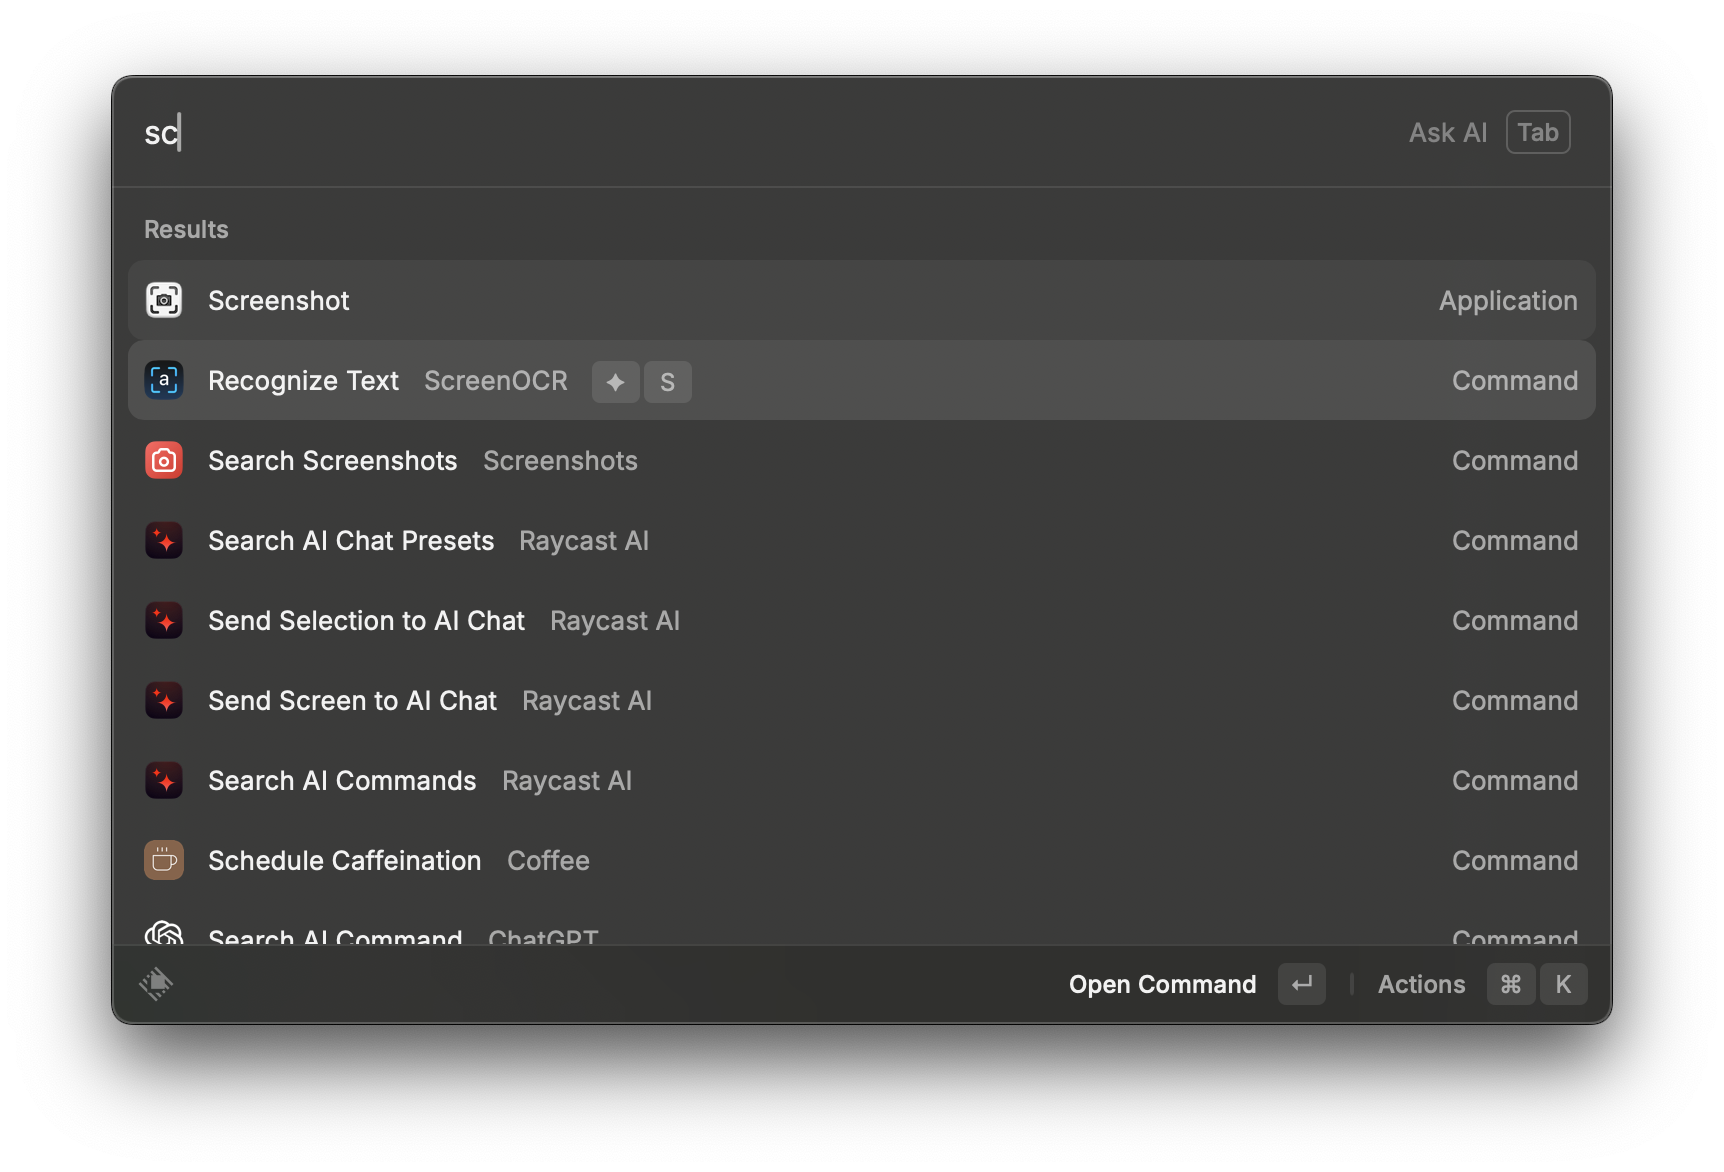
It allows you to take a screenshot of a portion of your screen that contains text, recognizes that text, and copies it into your clipboard. All instantly.
I of course mapped it to Hyper Key + S which allows me to trigger it immediately when needed. It’s also extremely useful for situations where you might be using VNC or RDP to remote to another desktop and you need to copy text from the remote host to the client host.
There’s a ton of screen capture extensions for Raycast, this is simply one that offers a very specific functionality that I rely on.
MCP
Model Context Protocol or MCP is an open-source framework developed by Anthropic, the creators of AI tools such as Claude.
It allows you to essentially provide an AI agent access to data-sets, both locally and remotely. If you want to connect to a remote data-set, you do so in the form of MCP servers.
Cloudflare naturally adopted MCP from the get-go and it created a set of useful MCP servers.
One that I use almost everyday is the Cloudflare Documentation MCP Server, found at https://docs.mcp.cloudflare.com/sse.
As it turns out, Raycast was also pretty quick to adopt MCP support… You see where this is going.
You literally just need to open Raycast and type “Install MCP”. An option will show up and you just need to point Raycast to the MCP server you want to point it to.
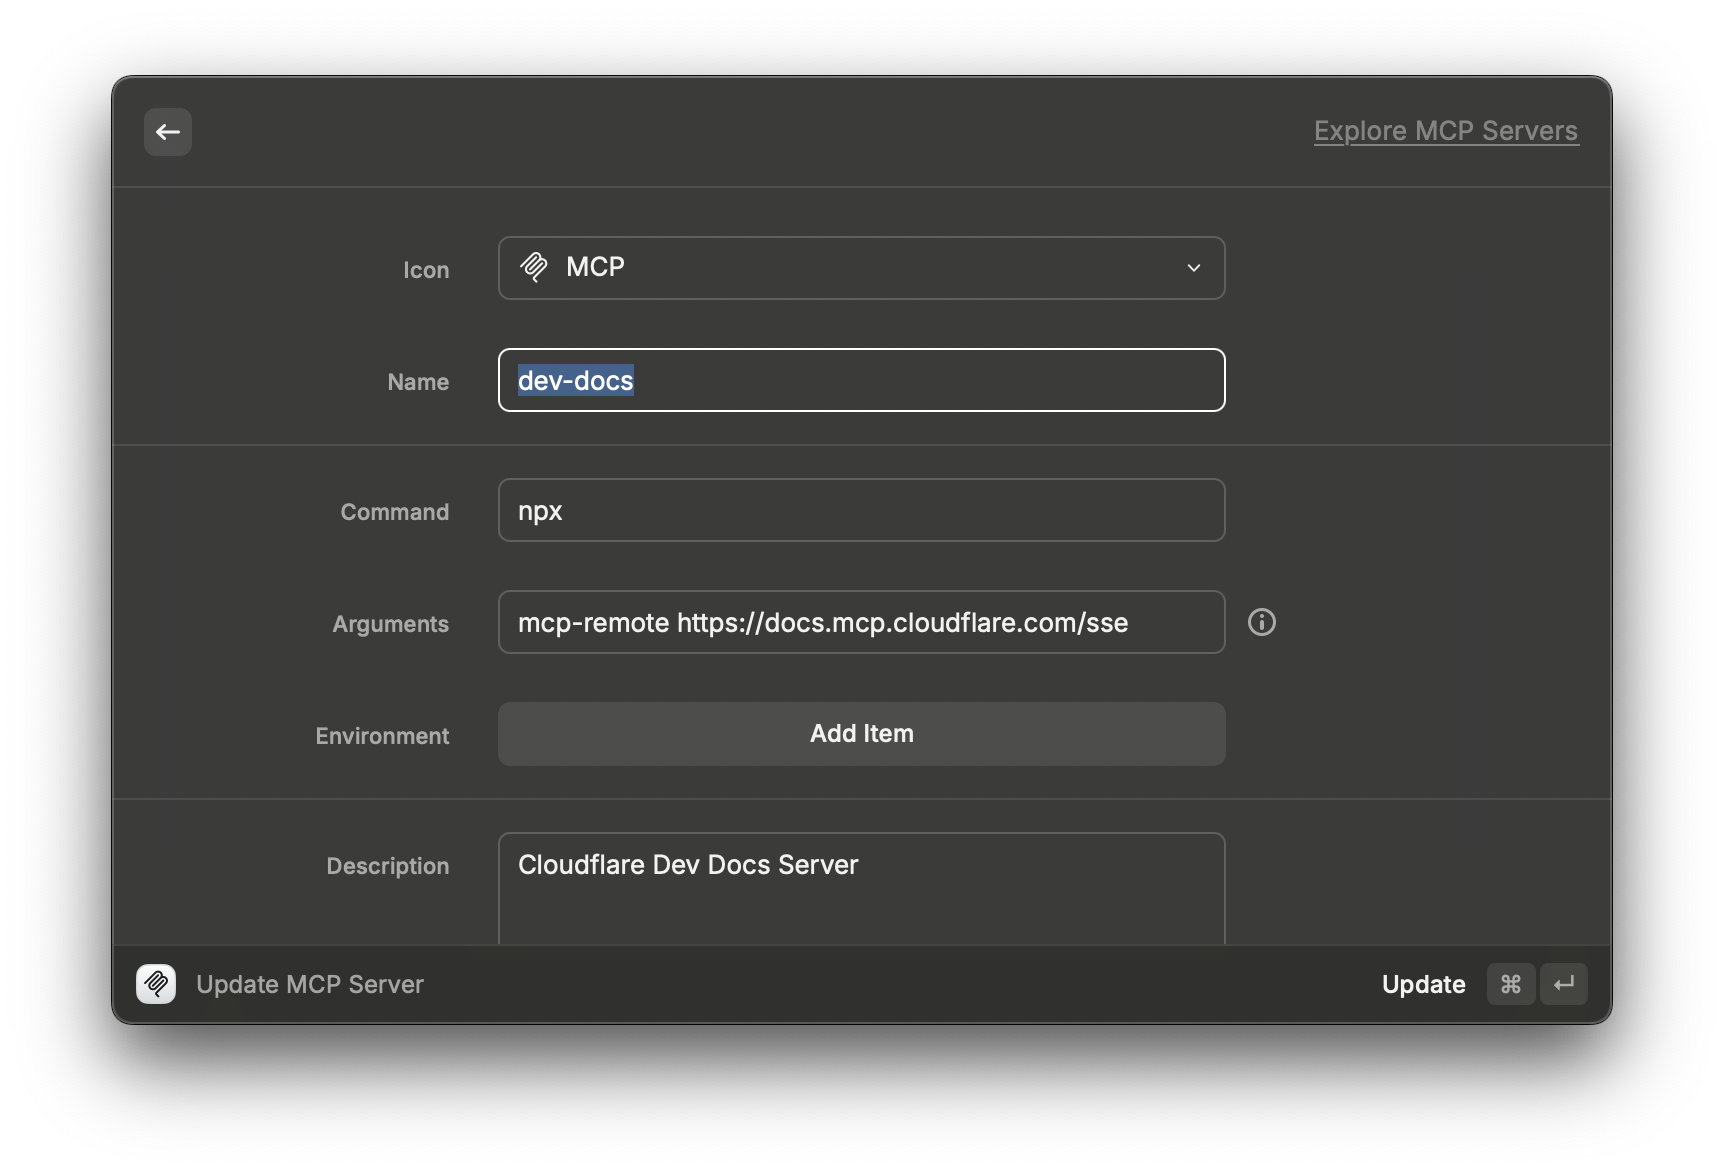
I can now query a local AI agent for information contained within Cloudflare’s documentation. It works incredibly well.
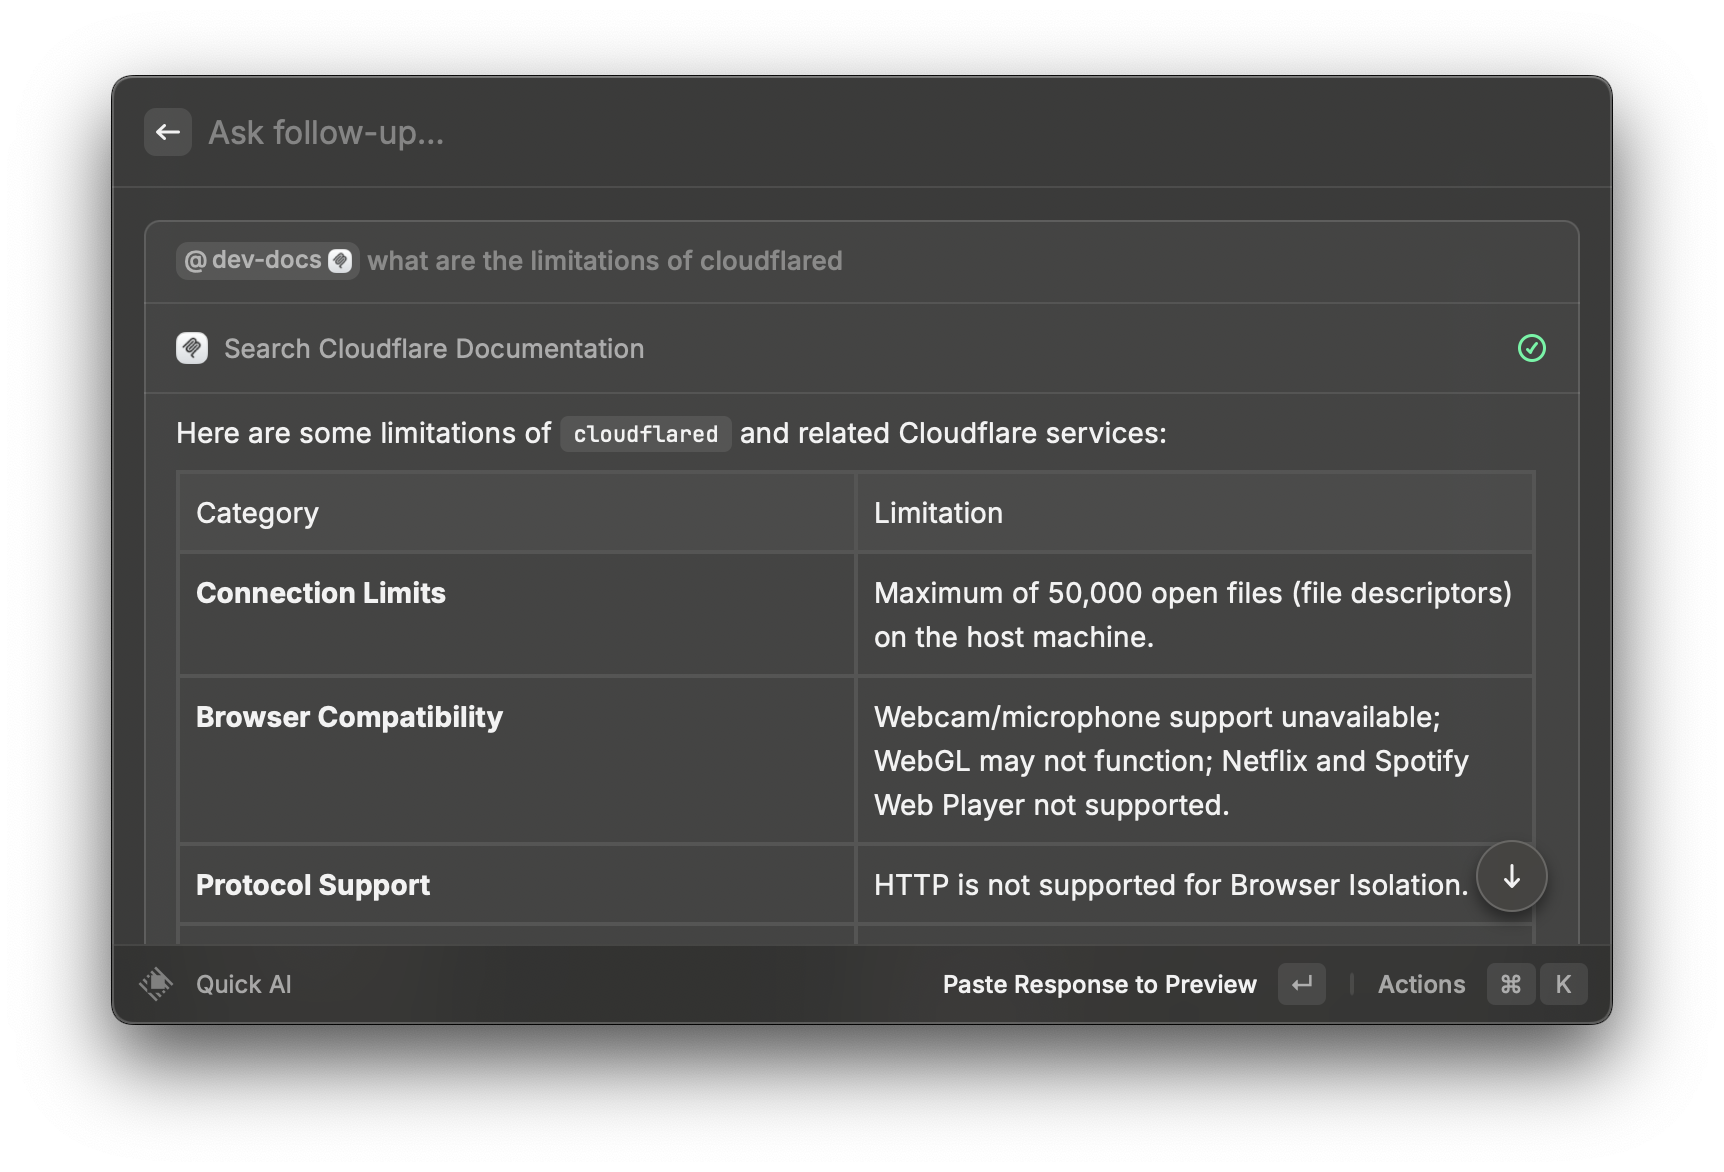
Though you can use a mention name to invoke a specific MCP server, I decided to map it to a keyboard shortcut. I use Hyper Key + C.
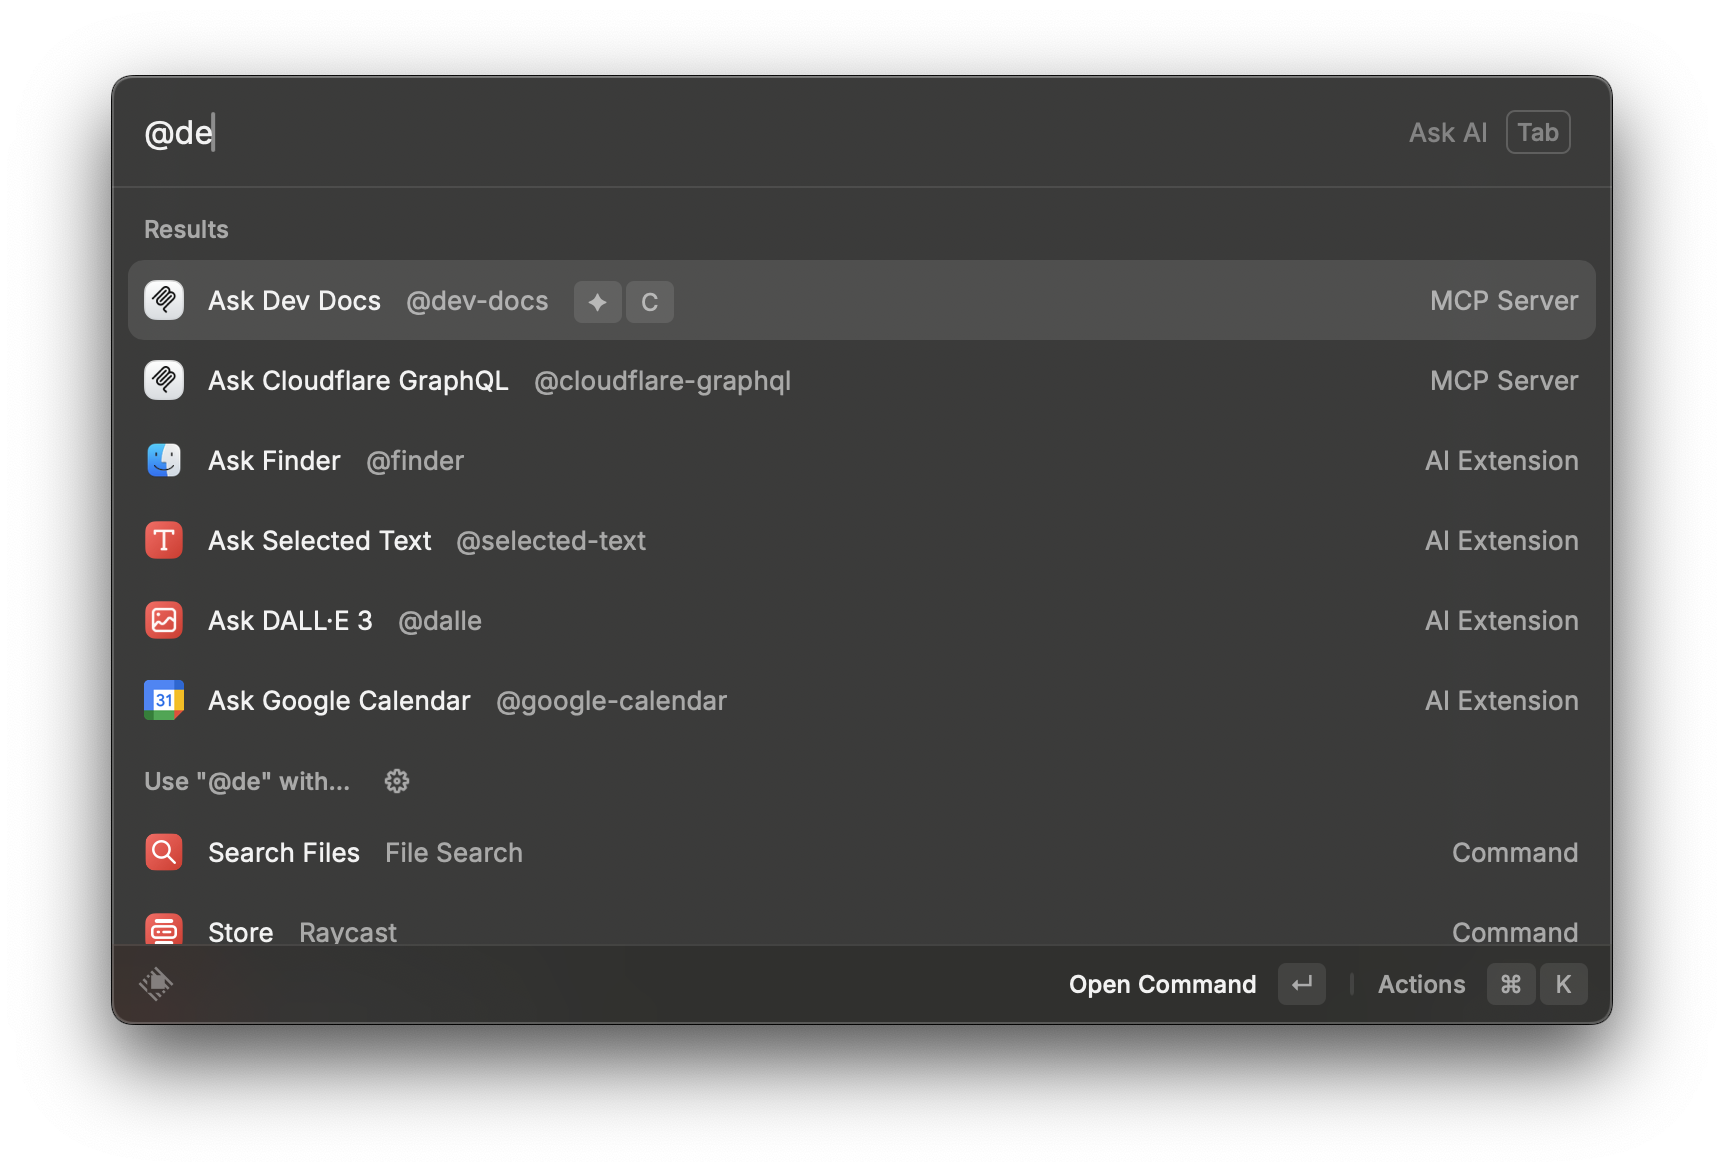
I can’t wait to explore MCP more and add a few more MCP servers to my Raycast.
Conclusion
Install Raycast.